
If you apply makeup with brushes, you need to know the best way to clean them. The best makeup application requires tools that aren’t clogged with dirt or residue. Plus, dirty brushes can harbor a ton of terrifying sounding bacteria that can cause breakouts, clogged pores, and worse.
By keeping them clean, not only will your skin thank you, but your wallet will, too. (New makeup brushes can be expensive!) We’ll walk you through the process step-by-step.
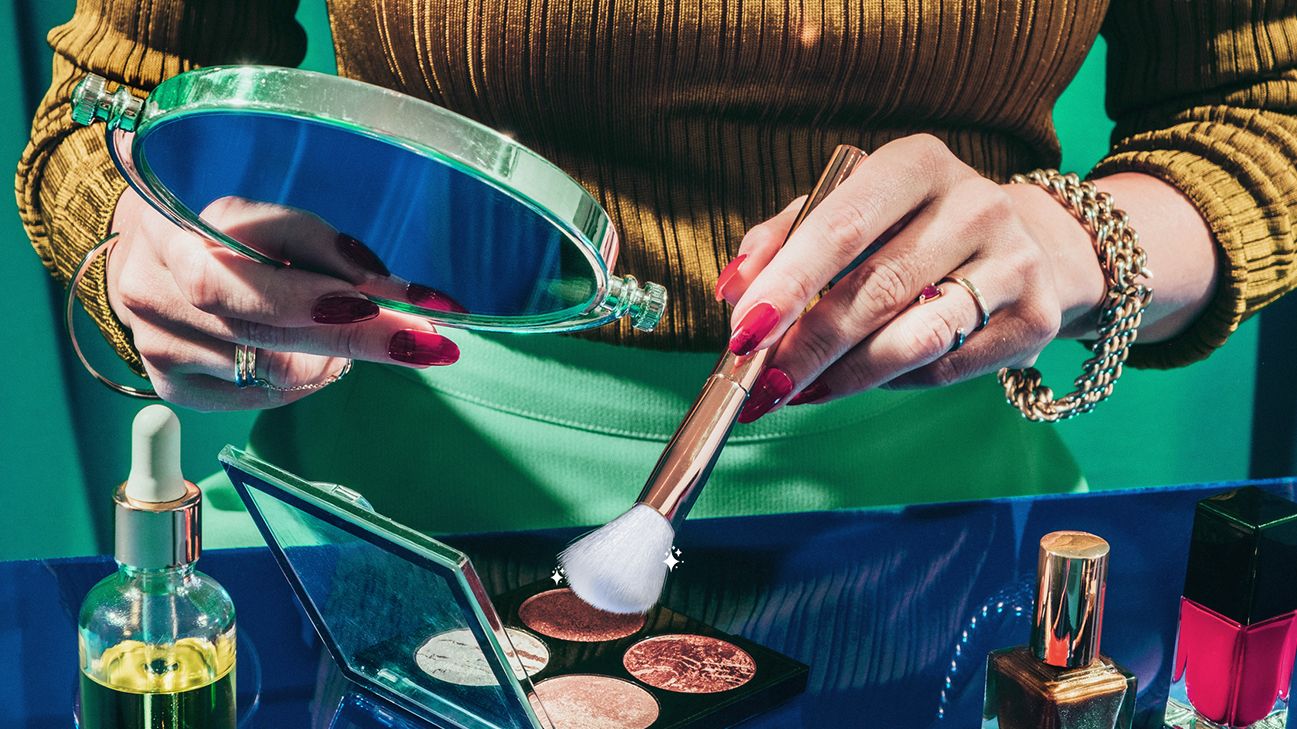
How to clean your makeup brushes in 5 steps
- Wet. Run the brush under lukewarm water.
- Wash. Massage a gentle soap into the bristles or sponge.
- Rinse. Run the brush under lukewarm water again.
- Inspect. Double check that all of the makeup and soap have rinsed out.
- Dry. Lie the brush flat to air-dry.
The American Academy of Dermatology Association recommends washing your makeup brushes every 7 to 10 days. You may need to wash them more frequently if you’re experiencing a breakout or other skin concerns.
Why’s it so important to clean your brushes regularly?
Your makeup brushes collect product residue, dirt from the environment, and oil from your skin. As a result, they’re a breeding ground for germs. Research suggests they could even harbor some particularly worrisome bacteria.
In a study, researchers analyzed samples of donated beauty products. The items included beauty blenders/sponges and various cosmetics like lipsticks, eyeliners, and mascaras.
Their tests revealed that up to 90 percent of the products contained bacteria. Baddies like Staphylococcus aureus, E. coli, and Citrobacter freundii (bacteria that can cause skin infections, food poisoning, and urinary tract infections) even showed up.
The researchers noted that the makeup sponges, in particular, held a significant amount of Enterobacteriaceae. This large family of bacteria includes Salmonella, which produces endotoxins. These are bacterial products that can cause a fever, muscle pains, and other symptoms during an infection.
Plus, if you moisten beauty blenders before using them, their damp surfaces encourage fungus to grow. That could set the stage for a gnarly fungal skin infection.
Another interesting snippet of information from the study above was that almost 30 percent of the beauty products were stored or applied in bathrooms. And because the bathroom is also used for *ehm* toilet activities, your makeup brushes can become contaminated with aerosolized fecal matter. Yikes.
So, it’s definitely important to keep your brushes clean, but If you want to give your brushes a deep, professional-level clean that optimizes your makeup application, here’s how to wash makeup brushes, step-by-step.
Step 1: Wet
Turn the tap on and ensure the water is lukewarm, then rinse the tips of the brushes underneath. Try not to submerge the whole brush head. Over time, this can weaken the glue that connects the head to the handle.
Step 2: Wash
Add a tablespoon of gentle or clarifying shampoo to a bowl of lukewarm water. Don’t use dish soap as it’s too harsh on your brushes. It can strip the grease from natural bristles.
Dip the tips of the brush heads into the bowl of shampoo and water and gently massage the bristles for a few minutes until they look nice and sudsy.
Step 3: Rinse
Hold the makeup brushes under lukewarm running water and rinse until there’s no trace of lather remaining. Again, make sure to focus on rinsing the tip of each brush rather than the whole head to keep the glue intact.
Step 4: Inspect
Check your brushes for any residue, and if they still have some hiding in the hairs, repeat the process.
Step 5: Dry
Grab a clean towel and place it on a flat surface. Squeeze the excess moisture from the brushes using a clean, dry paper towel or a clean microfiber cloth, and lay them out on the towel. Make sure to separate each brush so it can completely air-dry.
If possible, set the brushes at a slight downward angle to encourage any water to run away from the handle. That moisture could rot a wooden handle or remove the glue.
Step 1: Wet
Run lukewarm water over the beauty blender/sponge. Squeeze out your beauty blender and the water until it’s thoroughly wet.
Step 2: Wash
Choose a gentle soap or clarifying shampoo. Put a couple of drops on the sponge and squeeze, squeeze, squeeze until it develops a good lather. Then, give it a good massage to get all the makeup out of the center.
Step 3: Rinse
Hold the beauty blender under the lukewarm running water and squeeze until there are no bubbles.
Step 4: Inspect
How’s it looking? When you squeeze the beauty blender, does the water look clear? If not, repeat the washing process.
Step 5: Dry
Squeeze out as much water as you can, and then leave the beauty blender to air-dry in a room with circulating air.
If you want pristine makeup brushes that help you produce flawless results, choosing an appropriate makeup brush cleaner is essential. Here are some of the best options out there.
Gentle shampoo
If you use regular soap to clean your makeup brushes, it can damage and dry out bristles made of natural hair. Gentle shampoo keeps the bristles safe, and it’s effective enough to remove dirt and makeup residue from brush bristles. Plus, it won’t break the bank.
Commercial makeup brush cleanser
If you’ve invested a chunk of hard-earned cash in your makeup brushes, then you may want to consider a specially formulated professional makeup brush cleanser. Because these products are specially designed for this purpose, they’ll deep clean your brushes and sponges without any damage. But they’re the most expensive option.
Soap
You may be thinking that antibacterial soap may help reduce the nasty bacteria on your brushes. Still, according to the FDA, it’s no better than regular old soap at preventing illness. Plus, they may contain ingredients that irritate your skin.
Instead, if your makeup brushes are not made of natural hair, opt for a gentle soap, either in a bar or liquid form.
Although it’s sometimes tempting to grab your brushes and slap them all together in your makeup bag, it’s not the best idea. Not only can this damage the bristles, but they can also pick up bacteria and dirt along the way.
Instead, get your hands on a brush roll. It’s an alternative to your traditional makeup bag that has individual slots for each brush. So, you’ll know exactly where to find the brush you want, and they’ll stay separated from each other.
Sharing makeup brushes is a definite no-go. Skin infections are becoming more widespread, and sharing your makeup brushes, even with your bestie, increases your chance of an infection. Sharing brushes (and skin care products) means sharing germs.
Makeup brushes can transport bacteria from one person to another. Swapping lip and eyeliner brushes is especially risky. If you share these tools, it’s possible to develop an infection from the herpes simplex virus (HSV).
If you’re wondering when it’s time to kiss your makeup brushes goodbye, there are no hard and fast rules.
Higher quality brushes may last a couple of years with regular use, while other, more wallet-friendly options may only last a couple of months.
The best thing to do is keep your eye on the fullness, softness, and cleanliness of your bristles. If those bad boys are getting thin on the ground or looking worn to a frazzle, it’s time to toss.
Makeup brushes are a breeding ground for bacteria and other germs, so wash them weekly in a gentle soap to avoid nasty skin infections. Plus, perfect makeup requires clean, uncontaminated brushes, so it’s a win-win. We’re all for sharing your top makeup tips, but never share your brushes. It’s possible to spread infections from one person to the other.