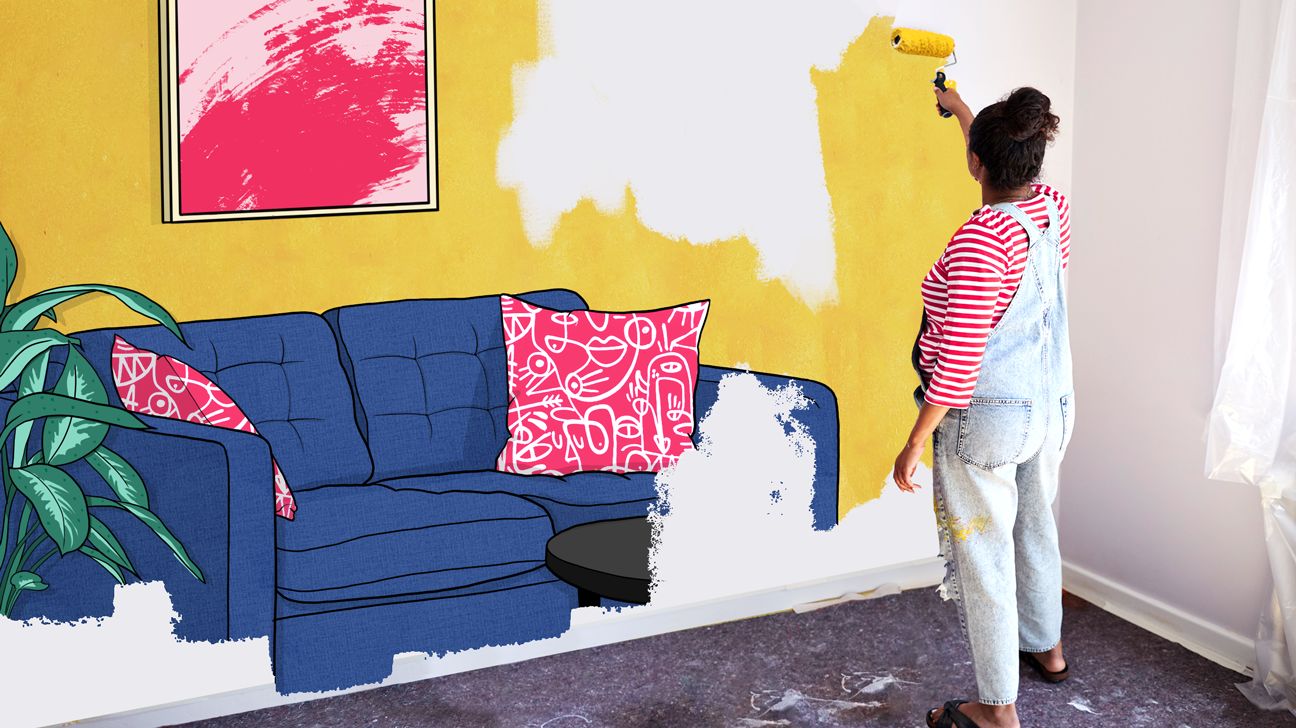
Paint is one of the most affordable changes you can make to your space — far easier and faster than any remodel and, in many cases, even refurnishing. Once you understand the process and have the correct tools, painting a room is pretty simple.
Once you choose a palette, follow these tips for everything you need to do next.
If you remember nothing else, make it this. Always test your paint colors on the wall in the room you plan to paint. Here’s how to do it.
Buy a sample pot from your local hardware store
Make sure the sample pot comes in the finish you want or need to use. (For more on paint finishes, read our Painting Crash Course.)
Paint the sample onto the wall so it’s large enough that you can get a good feel for the color. You may even want to paint it on a few different walls, since the appearance of color changes depending on which direction the natural light is coming from.
Or, buy peel-and-stick paint samples
Luckily, there’s an easier way to test paint now. Many paint companies offer peel-and-stick paint samples made with real paint. In most cases, you can skip the stop to the paint shop and order them online. Once you’ve tested them, you can simply peel them off the wall, so there’s no mess to clean up.
Sit with it for a few days
Either way, once you’ve applied your samples to the wall, take your time. Observe how the color changes depending on the time of day and sit with it for a few days. Look at it in the morning, afternoon, and evening light — it might not even be overkill to check it out on a sunny day and a cloudy day too. This will help you get a good idea of what the color will truly look like day to day.
Before you head to the paint store, check around your house to see if you have any of the items on hand. If not, make sure to factor these items into your project budget.
For prep
- screwdriver
- canvas drop cloth (can also use old bedsheets or tarps)
- 2-inch flexible putty knife
- premixed spackle
- 220-grit sandpaper
- caulk (if needed) /caulk gun
- painter’s tape
For painting
- primer
- paint (one gallon per 400 square feet)
- 2.5-inch angled brush (Wooster or Purdy)
- handheld paint pail
- paint rollers
- roller covers (3/8 nap)
- roller extender
- paint trays, tray liners are helpful too
- stepladder
Clear your working space
Move all the furniture so it’s a good distance from your working space. It’ll make everything easier if you have space to move and aren’t maneuvering around pieces of furniture.
Then, remove nails, hooks, light fixtures, outlet covers, and anything else that’s hanging from the walls. Don’t forget about curtains and blinds!
Place outlet and switch covers with their screws into a separate bag so you don’t lose anything.
Fill holes and gouges with spackle
If you have holes in the wall from nails or screws, you should patch them before you paint. (Believe it or not, paint won’t fill or cover holes!) Spackling paste is made of putty, which you’ll use to fill in the hole. You’ll need a putty knife and premixed spackle, which is usually available in the paint aisle at any hardware store.
Once you’ve removed the screw or nail, make sure you remove any broken drywall pieces so that you’re starting with a flat surface. Now, it’s time to spackle. Go over the hole in several different directions. Don’t be concerned about getting it smooth and flat. Focus instead on making sure the hole looks completely filled. If you plan on rehanging something back into the same hole, don’t worry about spackling it.
Let the spackle dry completely, then using your fine-grit sandpaper to sand the spackle until it’s smooth and flush to the wall.
Vacuum and wipe off any and all dust.
Wash the walls if they’re noticeably dirty
Fill a bucket with warm soapy dishwater and clean them with a damp sponge. Let the walls dry completely.
The more experienced you are with painting, the less tape you’ll need. Carefully apply painter’s tape along any edges you don’t want to paint over, like molding, window trim, and the ceiling. Instead of trying to apply one long strip, it’s easier to break up the tape into 2-foot pieces.
Also, to make sure the tape sticks flush against the surface (this will help create a crisp edge) wet your thumb slightly with water and run it over the edges of the tape.
Primer is an undercoat to paint. And while a lot of people like to skip this step, it can ensure proper paint application and actually save you time in the long run by limiting the number of coats of paint you’ll need to show off the color.
If you’re on the fence, you’ll definitely want to use primer if you’re painting over a dark color. Think of it as creating a blank canvas. Specialty primers can also be used to cover stains and odors on your walls, which can be common in older homes. To really help the new color pop if you’re making a large color transition, consider using a gray tinted primer.
Here’s what you’ve been waiting for, it’s finally time to paint the room.
First, paint all edges with your brush
Use your angled paint brush to paint a 2- to 3-inch border around any edges your room has, like the windows, trim, baseboards and ceiling. Rollers aren’t agile enough to hit these spots. Use your small, handheld paint pail for this portion, since you won’t need much paint.
Then roll out the walls
Once that’s complete, pour your paint in the larger tray and assemble your paint roller. (The roller extender isn’t absolutely essential for standard walls, but it does take some strain off your shoulders and back.)
You want the roller to be saturated with paint but not dripping. Use the grooves in the tray to press out excessive paint. Then to get the best coverage, apply the paint to the walls in sections in “M” or “W” shapes, making sure the strokes overlap and completely cover.
You want to push the roller against the wall hard enough to add the paint but not so hard that it’s dripping or leaving weird marks. And keep an eye out for drips! They’ll run down the walls in long lines and it’s important to catch them (rolling over them with your roller does the trick) before the paint starts to dry.
Two coats of paint (over a primer) are usually enough to get you to the truest form of your color. Check your paint to see how long you should wait between coats. Some water-based paints dry in as little as an hour.
Wash your paint brushes and your rollers in warm, soapy water. If you think you may need to make some touch-ups, wrap one brush in a plastic bag in the refrigerator to keep it from drying out. Then toss your drop cloths in the washing machine.
Wait until the paint is dry to the touch before removing the painter’s tape. (Most paints and finishes have different dry times, so make sure to check the label.) Give your new paint job a day or 2 to cure before moving around furniture and putting things back on the wall like the outlet covers.
How to deal with splatters
The best way to deal with paint splatters is to clean as you go. Otherwise, it could take the work of mineral spirits, aka turpentine (a volatile organic compound) to remove stubborn paint. Try this instead:
- As you paint, keep a damp, soapy rag on hand. If you splatter paint or even drop a big blob on the floor, you can mop it up quickly.
- As you clean up, inspect for drips that may have gone unnoticed. If they’ve started to dry, you can try loosening up splatters with olive oil or vinegar. Dab either onto a rag and rub it over the splatter.
- If you discover a splatter the next day, you can use a small razor blade or paint scraper to pop the flakes off the floor. Just be sure not to dig into the flooring, otherwise you can dent and scrape hardwood or possibly even chip tile.
Caylin Harris is a writer, crafter, and stylist specializing in interior design and DIY. She lives in New England and loves scoring the perfect vintage find, reading, gardening, and giving guests restaurant recommendations. She lives with her husband and rescue cats in their own fixer upper.