
Feeling burned-out, grumpy, or just straight-up stressed? When hitting the pavement just isn’t cutting it, head to the hills to burn some calories and re-center yourself. Whether it’s a day hike or a mountain summit you’re ready to tackle, a little prep will make sure you reach your goals safely.
Naturally, different types of hikes require different preparation. There are universal needs for all hikers and others that are optional based on your goals, the hike location, and the weather conditions. If you go prepared, you’ll have a better chance of enjoying the hike no matter what Mother Nature dishes out.
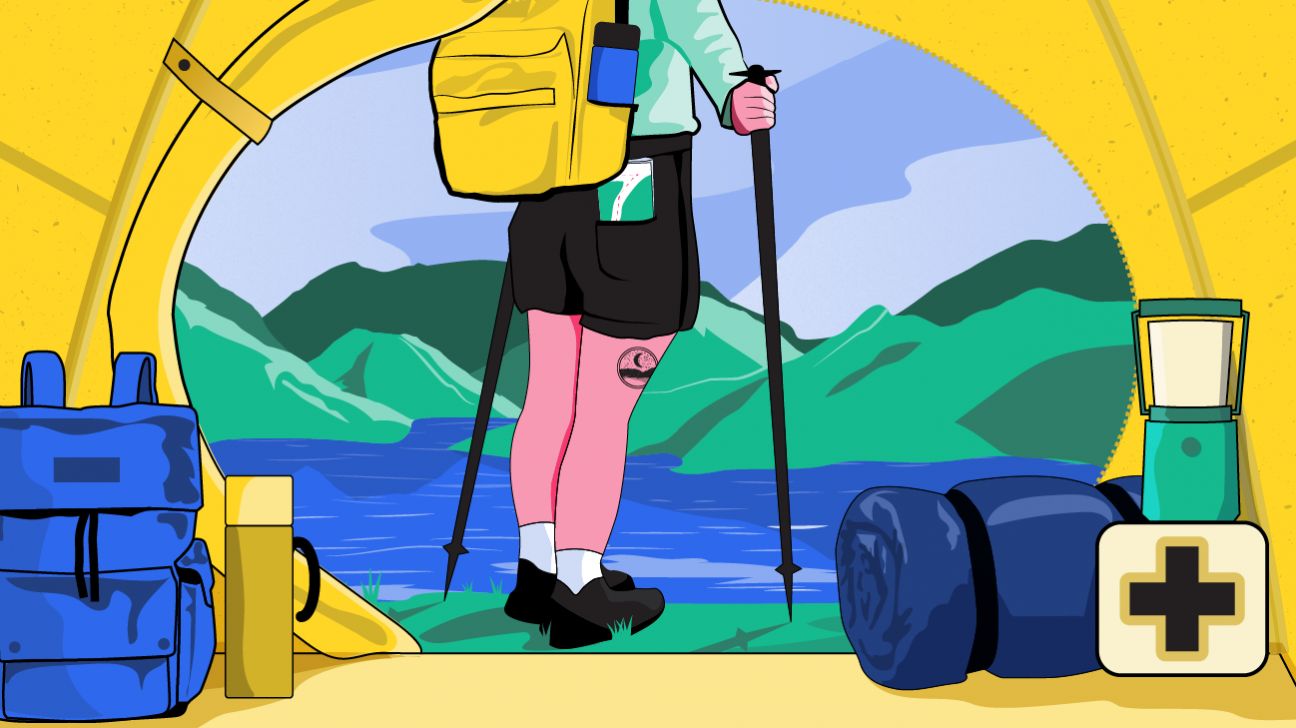
Keep reading for everything you need to know before you go, with tips from a hiking expert on how to safely enjoy a day, weekend, or week in the woods.
No, not all hikes are the same — and knowing the different kinds will make it easier to properly prep for the big trip. Here’s what you need to know about all the different kinds of hiking:
Day hike
If you can complete the hike within a day, you’re on a day hike. But just because they’re shorter, doesn’t mean you’ve got the OK to cut back on prep. In reality, they can be just as dangerous as any other type of hike, depending on the difficulty, length, and weather conditions.
Day hikes range from short 1/2-mile hikes on well-marked trails to full-scale mountaineering up a smaller peak within a day. Beginners might start with a shorter hike on easy terrain, but advanced hikers can also enjoy day hikes by choosing more challenging terrain based on their skills and fitness levels.
Off-trail hiking
Off-trail is a subset of hiking that can qualify as a day hike. It can also be categorized under the other types of hiking if you’re planning on going a longer distance. But basically, the name says it all. Off-trail hikers venture away from the crowded trails into unmarked territory.
PSA: Off-trail hiking isn’t the best place to start if you’re a beginner. Even experienced hikers should include at least one person in the group that’s familiar with the area. This type of hiking requires a trustworthy GPS, paper maps, and a compass (plus, you’ll also have to know how to use them).
Summit hiking
A summit hike takes you all the way to the top of a peak that usually includes a lookout. This is the kind of experience many people dream about. Like day and off-trail hiking, summit hikes can be relatively easy — but expect some serious elevation gain for those that offer the best views. Summit hikes can be a day venture or a multiday, long-distance, technical hike. Again, know before you go.
Long-distance hiking
Long-distance hikes cover more ground than a day hike. They could be 15, 20, or 50 miles (or even more!) in length. The terrain difficulty, your experience, and your fitness level should go into determining how many miles you can cover in a day. These hikes require more preparation, including studying a map beforehand. Within the broad umbrella of long-distance hiking are several other hiking types:
Thru-hiking
Thru-hiking involves following an established trail from end to end. The most well known in the United States are the Appalachian Trail, Pacific Crest Trail, and Continental Divide Trail. These hikes require serious preparation and months to complete, and only experienced hikers should attempt them. Beginner-to-intermediate hikers often do short portions of these trails, but the full meal deal requires expertise and endurance.
Section hiking
Section hiking is when you take on an ultra-long trail, like the Appalachian Trail, in sections. Most people can’t commit to hiking a trail that takes months to complete, but they can complete sections of the hike over the course of a year (or however long it takes, TBH).
Hut-to-hut hiking
Some trails have established huts/cabins/a-frames along the trail so you can hike from hut-to-hut. These have the (obvi) benefit of a sheltered place to rest at night. Plus, they also give you well-established stops along the way, taking some of the planning out of your hands.
Peak bagging
This is another type of hiking for experienced hikers. Peak bagging tackles multiple peaks through a goal-oriented approach. There are organizations that compile peak lists for hikers, while other hikers create their own lists. Some try to take on multiple peaks in a single day, while others use base camp to hit more than one peak on a multiday trip.
Base camping
With this type of hiking, you set up camp at a convenient, central location and use it as a base of operation. It’s usually a multiday adventure, exploring several trails or hitting several peaks in a single trip. This is the type of hiking used to take on huge peaks like Mt. Everest, which has several base camps along the mountain. (FYI: Taking on Everest is far more than a hike, but it’s also an extreme example of base camping).
Heli-hiking
Heli-hiking is when you hitch a ride on a helicopter to reach your destination. (Uh, hitch might be a little casual. It’s an expensive way to reach some pretty extraordinary locations.) Yes, it’s an extreme form of hiking, but it’s also amazing because you get a peek at places many people will never see. 👀
Research, research, research
As strange as it sounds, getting in tune with nature usually starts on the interwebs (thanks, Google!). Before picking a spot on the map, do some research. It can save your legs, back, and basically, your life. Check out sites with nature and hike guides like Backpacker Magazine, The National Park Service, and the National Wildlife Federation. These sites should tell you if you need any park or parking passes. Talk to friends and co-workers to get the skinny on local trails, too.
Alicia Filley, PT, MS, a physical therapist, editor of Sports Injury Bulletin, and founder of The Healthy Hiker, recommends printing a paper copy of the trail map in addition to any digital maps you download. A GPS may be all you need, but you should have a backup in case it breaks or the battery dies. Filley also suggests taking special note of water sources on the trail. Take the time to familiarize yourself with the features of the trail, including the elevation gains and losses and landmarks or other trails that may act as guideposts along the way.
If they’re available, check out reviews. “[You] can learn about trail conditions by reading online reviews from recent hikers. These reviews usually note if there are any hazards or recent animal sightings,” says Filley.
Do the legwork… literally
As with any physical activity, it’s important to get in shape for hiking and prepare your body for moving in a specific way. Filley advises choosing a hike that’s appropriate for your experience and fitness level, too (aka, don’t plan on summiting if a walk around the block makes you wheezy.)
Beginners should begin their hiking prep by walking. Start with level surfaces and increase the distance a little each day, working up to the desired hiking distance. If you’ve got your eye on a 3-mile hike, then make sure you can walk 3 miles in your neighborhood first.
A simple option: If you normally drive around town to run errands, grab a pack and set out on foot for a grocery run. Walking to and from the store and schlepping food all the way home simulates how hiking challenges cardiovascular endurance and muscle strength.
When training for a major ascent, focus on workouts that boost leg and core strength. A weight training routine can improve performance as well as protect your joints(particularly your knees, ankles, and back) that are often strained during hiking. You’re ready for the woods when you can walk the distance of your hike. Gradually work your way into steeper, harder, more technical hikes.
Gather your gear
Well-fit trail runners or boots are a must. Trail runners provide more flexibility in the shoe’s sole while protecting your feet from rocks and roots. For intense mountain climbing or backpacking, go for full-on hiking boots with stiffer soles and more ankle and foot support and cushioning. Seek out an expert (like an employee at your local outdoor gear store) opinion in regard to fit.
Before purchasing new kicks, do some research about what to look for in a hiking boot for the kind of trails you want to take on. For example, if you’ll be carrying a heavy pack over rough terrain for days on end, mountaineering boots might be a good idea. But they’re prob overkill for a day hike.
To avoid blisters, wear your new boots around the house for a few days before their inaugural hike. Heading out in brand-new footwear is a recipe for blisters, uncomfortable feet, and an altogether unpleasant experience.
A few shoes and boots worth checking out:
In male’s sizes:
- Trail runner: Salomon S Lab/Ultra 3
- Hiking shoe: Oboz Sypes Low Leather Hiking Shoe
- Hiking boot: Mammut Sapuen High GTX
In female’s sizes:
- Trail runner: Saucony Peregrin 11
- Hiking shoe: Oboz Sawtooth II Low Waterproof Hiking Shoes
- Hiking boot: Salomon X Ultra 4 Mid GTX Hiking Boots
Pack the essentials
“Carrying the 10 Essentials are a must when hiking,” says Filley. The 10 Essentials are pretty standard and have been around since the 1930s. Sometimes you don’t need to mess with what works.
- Navigation. Stay on the right trail with a good map (that you know how to read), compass, and GPS.
- Sun protection. Even on a cold day, hikers get plenty of UV exposure, especially on mountains that don’t have a lot of tree cover. Take care of your eyes and skin with UV-blocking sunglasses, plenty of broad-spectrum sunscreen, and a hat.
- Insulation. Pack a few layers of extra noncotton clothing — no matter how hot it is outside, it’s always important to bring an extra layer just in case you get stranded or the weather changes.
- Illumination. Even if you’re only planning to be out during the day, bring a headlamp or lightweight flashlight. Make sure it has fully charged batteries before leaving the house.
- First-aid supplies. Everyone has different medical needs, but a basic kit should contain at least the following items (Pro tip: Many camping supply stores sell pre-packed kits that include these essentials.):
- bandages and gauze
- alcohol wipes (or povidone iodine)
- small roll of medical tape
- antibiotic ointment
- anti-inflammatory medications (ibuprofen, acetaminophen)
- tweezers
- antihistamines (for bee stings or bug bites)
- nonlatex gloves
- eye drops
- a card with all personal and contact information for each hiker
- an epi-pen (if anyone in the group has a serious allergy)
- bear spray (if hiking in an area with bears)
- snakebite kit (if hiking in an area with poisonous snakes)
- any personal medications
6. Fire-making supplies. Grab waterproof matches and a lighter.
7. Repair kit. Anything necessary to repair trail gear, including a Swiss army knife or other multitool, duct tape, shoelaces, needle and thread, scissors, wire, rope, etc.
8. Nutrition. Enough lightweight, calorie-dense nutrition to last a night and part of the next day. (Yes, even if you’re 100 percent positive you won’t get lost.) Trail mix and energy bars are ideal.
9. Hydration. The amount of water you’ll need will vary depending on the length and intensity of your hike. As a general rule, pack multiple quart-size water bottles per person. It’s also important to plan for refills (even if you’re not planning to get lost): Bring along a water purification system such as iodine drops, chlorine tablets, or a high quality water filter.
10. Emergency shelter. An emergency space blanket, tarp, or even an extra-large trash bag in a pinch.
It’s also smart to bring a photo ID, insurance card, and credit card in case of emergencies. If the hike is more than a few hours long, bring toilet supplies — a towel, toilet paper, and hand sanitizer will allow you to do your business with (relative) comfort.
“The trap that even experienced hikers fall prey to is thinking that hiking is no big deal and they don’t need the 10 Essentials. Getting lost is serious, and hikers can quickly find themselves in a dangerous situation,” warns Filley. She specifically suggests bringing enough water and food. Always bring more than you think you’ll need. If you’re having a great time, you might decide to do a few more miles, and you’ll be glad for the extra supplies.
Shoes — check. Trail — check. WAIT — there’s more!
Check the weather
Check the weather so you can prepare and modify your plans accordingly. Even if you check the weather report a few days in advance, check it again the morning you’re set to leave. Consult a park ranger about the day’s weather, too. If big storms (especially lightning storms) are expected, play it safe and take a (literal) rain check.
Suit up
No, not that kind of suit. Dress for success in light layers made of moisture-wicking synthetic materials (read: skip the cotton. It holds moisture and can seriously irritate your skin.)Wool, fleece, and microfiber are ideal for staying warm and dry. Patagonia’s Capilene Cool Trail Shirt and Columbia’s PFG Tamiami II Long-Sleeve Shirt are both really good options. Keep things breathable all the way down to the socks.
On chilly fall, spring, or winter hikes, wear a hat to retain warmth and bring a heavier layer (a puffy down- or synthetic-filled jacket is ideal). Packable down jackets (like the Mountain Hardwear Ghost Whisperer and the Ghost Whisperer/2™ Down Full Zip Hoody) don’t add much weight and can save your life if the temperatures drop.
Tune in
When hiking, pay close attention to your body and surroundings. Keep an eye on the position of the sun in the sky, so you know whether you’re moving at a pace that’ll get you home before sundown. If you’re feeling tired, stop for a break, a snack, and drink. Be sure to get plenty of H2O, especially on a hot, sticky day — drink before you’re thirsty to ensure proper hydration. If your feet start to hurt, take a minute to change into dry socks and slap a bandage (or some duct tape) on the hotspot. Your body is your transportation, so give it some TLC!
Use the buddy system
Always inform friends and family (or at least someone) about your trip itinerary. Someone needs to know if you’re overdue. Give them a copy of your map or let them know the trail you plan to follow. If there’s a problem, they can let authorities know where to look if you get lost.
Stay safe
On the trail, respect the environment and be vigilant to potential dangers.
- Don’t touch, pick up, or eat any plants, flowers, fruit, or animals, especially if they’re unfamiliar.
- Study up on safety precautions if you’re hiking into an area known for poisonous snakes, bears, mountain lions, or other potentially dangerous wildlife.
- Protect against bugs and insects by keeping skin covered (long sleeves, hats, and long pants tucked into socks work wonders), using bug spray, avoiding strongly-scented skin and hair products, and checking for ticks at the end of each hike.
- Only use designated fire pits, clear away flammable leaves and pine needles before striking a match to prevent forest fires, and make sure the fire is fully out (and the ground in the fire pit is cool to the touch) before moving on.
Mind your manners
The trail can be a rough-and-tumble place, but it’s got its own code of etiquette and unspoken rules. One of the most important is to leave no trace when hiking. Carry out what was carried in (that means trash, food, and yep, used toilet paper), leave flora and fauna alone, and generally minimize impact on the trail and campsites. Leave trail signs and markers alone, and keep voices down (and cell phones silent!) to be respectful of fellow hikers. Remember: The only souvenirs should be photographs and memories. The only thing left behind should be footsteps.
Get outside. It’s good for your body and your mind. Once you’ve started exploring, it’s hard to stop. There’s a whole world out there to explore. Be smart, and do your research. If you head out prepared, you’ll be able to enjoy nature and your time away from technology. Get out and go!