So your basil died in a freeze and you accidentally overwatered your tomatoes. We get it. Not everyone has a green thumb. (Gardening can be super tricky even if you do!)
That said, there’s one crop that’s surprisingly easy to grow — and it just so happens to be a perennial favorite (literally): potatoes.
With a few simple tips, you’ll be well on your way to enjoying home-grown spuds for mashing, smashing, and roasting. Read on to learn more about how to grow potatoes in your garden — or even on your balcony or patio.
Potatoes originated in the Andes mountains of South America, where local farmers cultivate more than 4,000 potato varieties. They’re a member of the nightshade family, along with tomatoes, peppers, and eggplant. Like the other nightshades, potatoes are a warm season crop that require a frost-free growing season.
One intriguing difference between potatoes and other nightshades is that, instead of sprouting from seeds, potatoes grow from underground tubers, which are also the edible part of the plant. You start potato plants from so-called “seed” potatoes (aka old potatoes), or pieces of potato from the previous year’s crop.
Although there are some similarities between potatoes and sweet potatoes, the sweet variety is a member of the morning glory family. Tasty as they are, sweet potatoes have different growing requirements than regular potatoes, so we won’t cover cultivating them here.
To choose the best potato varieties to grow in your garden, give some thought to how you like to prepare them, and how long you need them to last in storage. You have your choice of a few categories: Potatoes may have “floury,” “waxy,” or “all-purpose” flesh. In general, they can be stored anywhere from 2-6 months.
Floury
Floury types include the ever-popular brown-skinned Burbank Russet potato. Because their cells break down and become absorbent when cooked, these common brown potatoes are perfect for mashed or baked potatoes. Floury potatoes have a moderate storage life of 2-3 months.
Waxy
The cells of waxy potato flesh, on the other hand, don’t break down when cooked. Red potatoes like Pontiac and Red Norland are some of the best known types in this category (but white potatoes such as Kennebec fall under the waxy umbrella as well).
Because they don’t break down as easily, the sturdy, waxy guys are great for soups and stews, roasting, and potato salad. Waxy potatoes store well, too. You’ll get up to 6 months from this variety.
All-purpose
Last but not least, all-purpose potatoes have a creamy texture that holds its shape after cooking. Popular all-purpose potatoes for home gardeners include Yukon Gold and German Butterball. (No relation to the turkey.) These spuds can be stored up to 6 months.
For the more elegantly inclined, fancy fingerling potatoes are waxy flesh types that are genetically predisposed to grow long and thin. Fingerlings like Rose Finn Apple or Russian Banana are a good choice if you like smaller potatoes, but want the ability to store them for up to several months.
Other considerations
Besides the type of flesh, a tuber’s shape and age might influence your potato preferences too.
New potatoes and petite potatoes, for example, are pint-sized potatoes that have been harvested prior to the fully mature stage. Just note that, because they haven’t yet developed fully protective skins, new potatoes should be used within a few weeks of harvest.
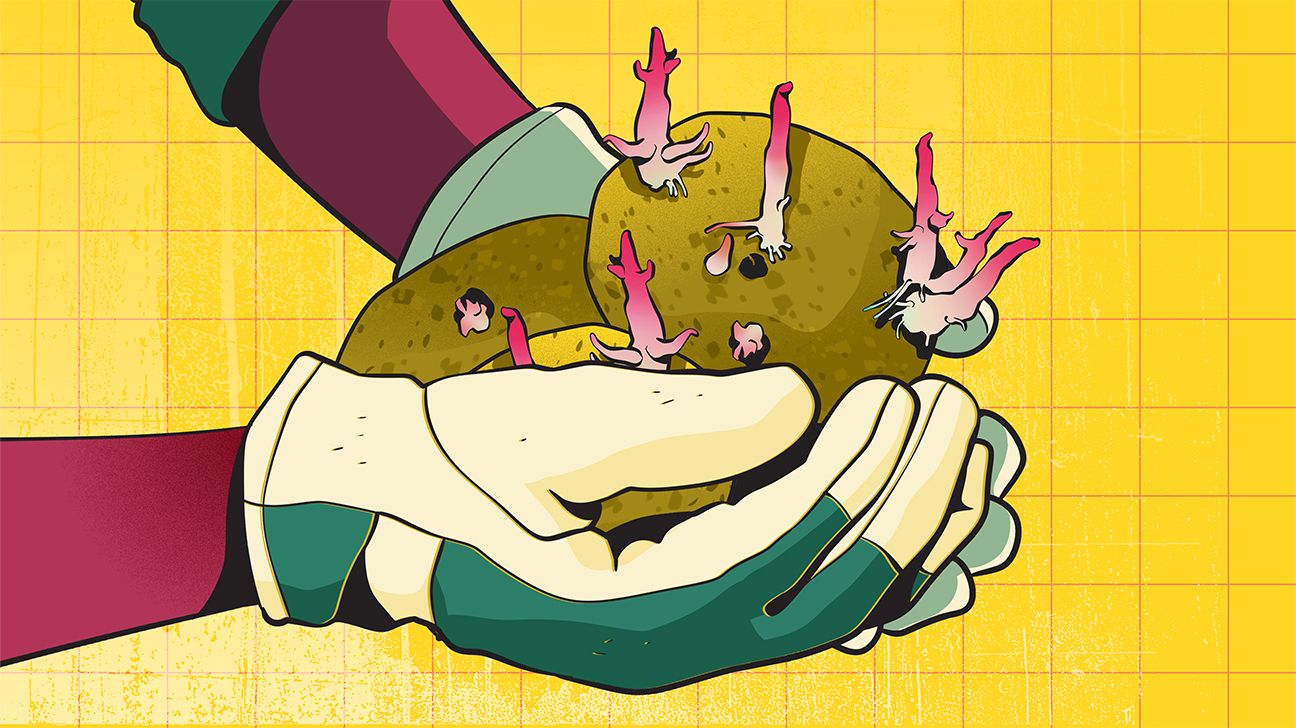
Potato “eyes” get a bad rap as an indicator of potatoes’ not-so-fresh status, but they serve an important purpose. Eyes begin from small, indented locations on each tuber where growth shoots form, eventually becoming new potato plants. In proper, cool storage, the tubers are dormant and eyes do not sprout.
While it’s technically possible to use old potatoes from the grocery store to make seed pieces for garden growth, it’s not a great idea. Grocery store potatoes may have been treated to minimize sprouting and may even harbor plant diseases.
For best results, use only certified seed potatoes. These veggie starters are disease-free and have not been treated against sprouting.
(Wondering where the heck to get such magical, disease-free seed taters? Check your local garden supply store — or even Amazon!)
When you’re ready to plant your way to dinnertime deliciousness, prepare seed potatoes by cutting them into 1-inch pieces, with 2-3 eyes on each piece.
Cure the cut pieces by placing 5 pounds of seed pieces in a paper grocery bag and folding down the top. Leave them in the bag for about a week, shaking gently every day or two to separate pieces that may have stuck together. Plant them 2-4 weeks before your last frost date.
Potatoes need consistently moist, well-drained, acidic soil that’s high in organic matter. They rot in wet soil and won’t produce in drought. Silty loam is ideal, but you can easily make sandy or clay soil more potato-friendly with a generous application of compost.
Now it’s time to plant! Choose a garden area that receives at least 6 hours of direct sunlight daily. (Both raised and non-raised beds work well.)
Prepare the garden bed by mixing generous amounts of compost into the top 6 inches of soil. Plant seed pieces with the eyes facing upward 4 inches deep, spaced 12 inches apart within the row. Cover with 3 inches of soil and space the rows 2-3 feet apart.
Your potato plants will sprout about 2 weeks after planting. (Feel free to do a happy dance when you see their perky green leaves poking up out of your garden bed.)
When the stalks are about 10 inches high, pull soil up around the stems. Cover them halfway. Repeat every 2-3 weeks. This process is called hilling. Hilling potatoes promotes additional potato formation in younger plants and helps protect growing tubers from sunlight.
An alternative method is to plant the seed pieces at the soil surface and cover with a deep layer of straw mulch. Add more straw as the plants grow to keep the growing tubers hidden from the sunlight. Up to a foot or more of mulch may be required for this method.
Potatoes also grow well in containers and grow bags you can place on a patio or balcony if the spot receives enough sunlight. Plant them in the bottom of the pot and cover with just a few inches of container mix. Then, as the plants grow, add more container mix, covering half of the exposed plant every 3 weeks until the pot is full.
To keep your taters growing strong, maintain potato hills or mulch throughout the growing season. The mounded soil protects developing potatoes from sunlight, which causes unsightly greening. Green potatoes may contain elevated levels of solanine, a mild toxin that can actually make you sick.
While home gardens are generally spared the infestations that large farms sometimes experience, there are a few potato pests to watch out for. If potato beetles show up (you’ll know them by their striped backs) simply remove them by hand.
Wash aphids and leaf hoppers off with a strong jet of water. Use row covers to protect against flea beetles. And in general, to minimize the number of hiding places for pests, keep your potato patch weed-free.
More tips for preventing disease:
- Use certified seed and planting in well-drained, acidic soil
- Water early in the day so that foliage can dry out quickly afterwards
- Don’t crowd plants together
- Remove plants and compost them after harvest
Now for the fun part: reaping the fruits (or, um, veggies) of your labor for starchy, creamy eating!
For new potatoes, begin harvesting when the plants flower, around 10-12 weeks after planting. You’ll notice these spuds have thin skin — that’s OK, they’re supposed to. The thin-skinned taters are flavorful and tender, but not suitable for long-term storage.
Mature potatoes, or maincrop potatoes, are ready to harvest when the plants die back at the end of the growing season. Depending on your climate and growing conditions, this can happen around 20 weeks after planting.
Harvest potatoes in dry weather. Brush off excess dirt, but don’t wash them to avoid damaging their skins.
Cure the potatoes for storage by laying them in single layers (not piles) in a dark, humid, cool place with excellent air circulation for 2 weeks. (Try for 85 percent humidity and less than 50 degrees.) If the air circulation isn’t ideal, turn your taters over at the halfway point.
After curing, sort the potatoes. Pull out any that are damaged, soft, or show signs of spoilage, as these could ruin the whole batch — and nobody wants that after weeks of hard work! Store the strong contenders in a dark, cool, humid place in containers with good air circulation (such as burlap bags or milk crates).
Even if you’re a newbie gardener, don’t fear planting potatoes. These tasty meal-starters are a surprisingly simple, low-maintenance crop you can grow in a small space.
Potatoes might even become your gateway plant! If you can succeed with spuds, who knows what other produce you can cultivate for yummy yard-to-table (or balcony-to-table) meals all year round?