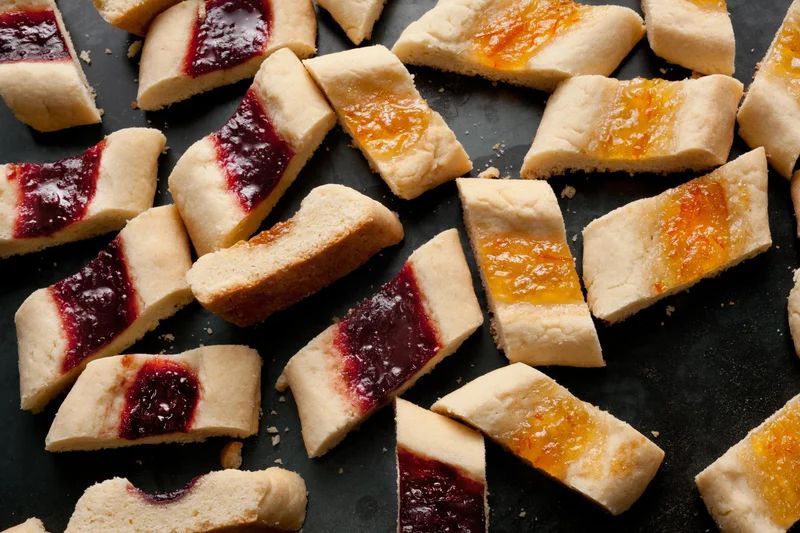
When I was a kid, I used to make these cookies at my Aunt Jo’s house almost every time I visited. We would sit together in the kitchen with fancy cups of tea and snack on them hot from the oven. I loved their buttery texture and jammy center, but I have a feeling my aunt loved them because they were easy enough for a kid to make. Instead of having to shape and fill individual thumbprint cookies, this ingenious shortcut version simplifies the process by baking logs of dough with a trough of jam down the center. After a quick bake, just slice the logs into cookies and they’re ready for a holiday cookie plate, or a cozy visit with a relative.
Game plan: Using a very smooth jam makes it easier to pipe an even layer into the center of the dough logs.
This recipe was featured as part of our Crazy-Easy Christmas Cookies.
- Yield: About 36 cookies
- Difficulty: Easy
- Total: 1 hr
- Active: 25 mins
Ingredients (8)
- 2 cups all-purpose flour, plus more for dusting the work surface
- 3/4 teaspoon fine salt
- 1/2 teaspoon baking powder
- 12 tablespoons unsalted butter (1 1/2 sticks), at room temperature
- 2/3 cup granulated sugar
- 1 large egg
- 1 teaspoon vanilla extract
- 1/2 cup smooth jam
Instructions
- Heat the oven to 350°F and arrange 2 racks to divide the oven into thirds. Line 2 baking sheets with parchment paper; set aside.
- Whisk the measured flour, salt, and baking powder in a medium bowl to aerate and remove any lumps; set aside.
- Place the butter and sugar in the bowl of a stand mixer fitted with a paddle attachment. Beat on medium speed until light and fluffy, scraping down the sides of the bowl as needed, about 3 minutes. Stop the mixer, scrape down the paddle and the sides of the bowl, and add the egg and vanilla. Beat on medium speed until incorporated, about 1 1/2 minutes. Stop the mixer and scrape down the bowl.
- Add the flour mixture and beat on low speed until the dough just comes together, about 45 seconds.
- Turn the dough onto a floured work surface and form it into a disk. Divide the dough into 4 equal portions. Using your hands, roll each portion into a 10-by-1-inch log. Carefully transfer 2 of the logs onto each prepared baking sheet.
- Using the handle of a wooden spoon, make a 1/2-inch-wide and 1/2-inch-deep trough in the center of each log, leaving a 1/2-inch border at each end.
- Place the jam in a piping bag or a resealable plastic bag (snip off one bottom corner of the plastic bag, if using) and pipe the jam into each of the troughs.
- Place both baking sheets in the oven and bake for 10 minutes. Rotate the baking sheets front to back and top to bottom and bake until the cookie logs are light golden brown around the bottom edges, about 10 to 12 minutes more. Place the baking sheets on wire racks and let the logs cool for 15 minutes.
- Pick up 1 of the parchment sheets and carefully transfer the two logs to a cutting board. Cut each log on the diagonal into 1-inch-wide pieces. Transfer the cookies to the wire rack. Repeat with the remaining parchment sheet and cookie logs. Let the cookies cool completely. Store in an airtight container for up to 5 days.