What comes to mind when you think of yoga? If it’s a lithe, hyperflexible woman elegantly bending her body into an intricate shape, we don’t blame you. That’s the image of yoga that’s sold to the public, after all.
But the truth is, yoga isn’t about “achieving” shapes, being elegant, or even being flexible. It’s about finding positions that make you say “ahhh.” And pretty much all the common yoga poses can do just that.

Plus, research has found that adding a regular yoga practice to your routine — regardless of the type of poses — can reduce stress, ease anxiety, and promote better sleep.
So, to help you get into the flow, we’ve rounded up the easiest, most accessible yoga poses, as well as details about how each one affects your body and modifications to try.
Modifications are your friend!
There’s a common misconception in yoga (and exercise in general) that modifying a posture means you’re weak or less able. This is baloney! Our bodies are vastly different from one another, and we can’t expect one pose to work for every body.
If a pose is ever uncomfortable — or if you don’t feel the stretch — a small change can probably make all the difference. Below, we’ve included common variations for each pose. But when you practice on your own, don’t be afraid to Google variations!
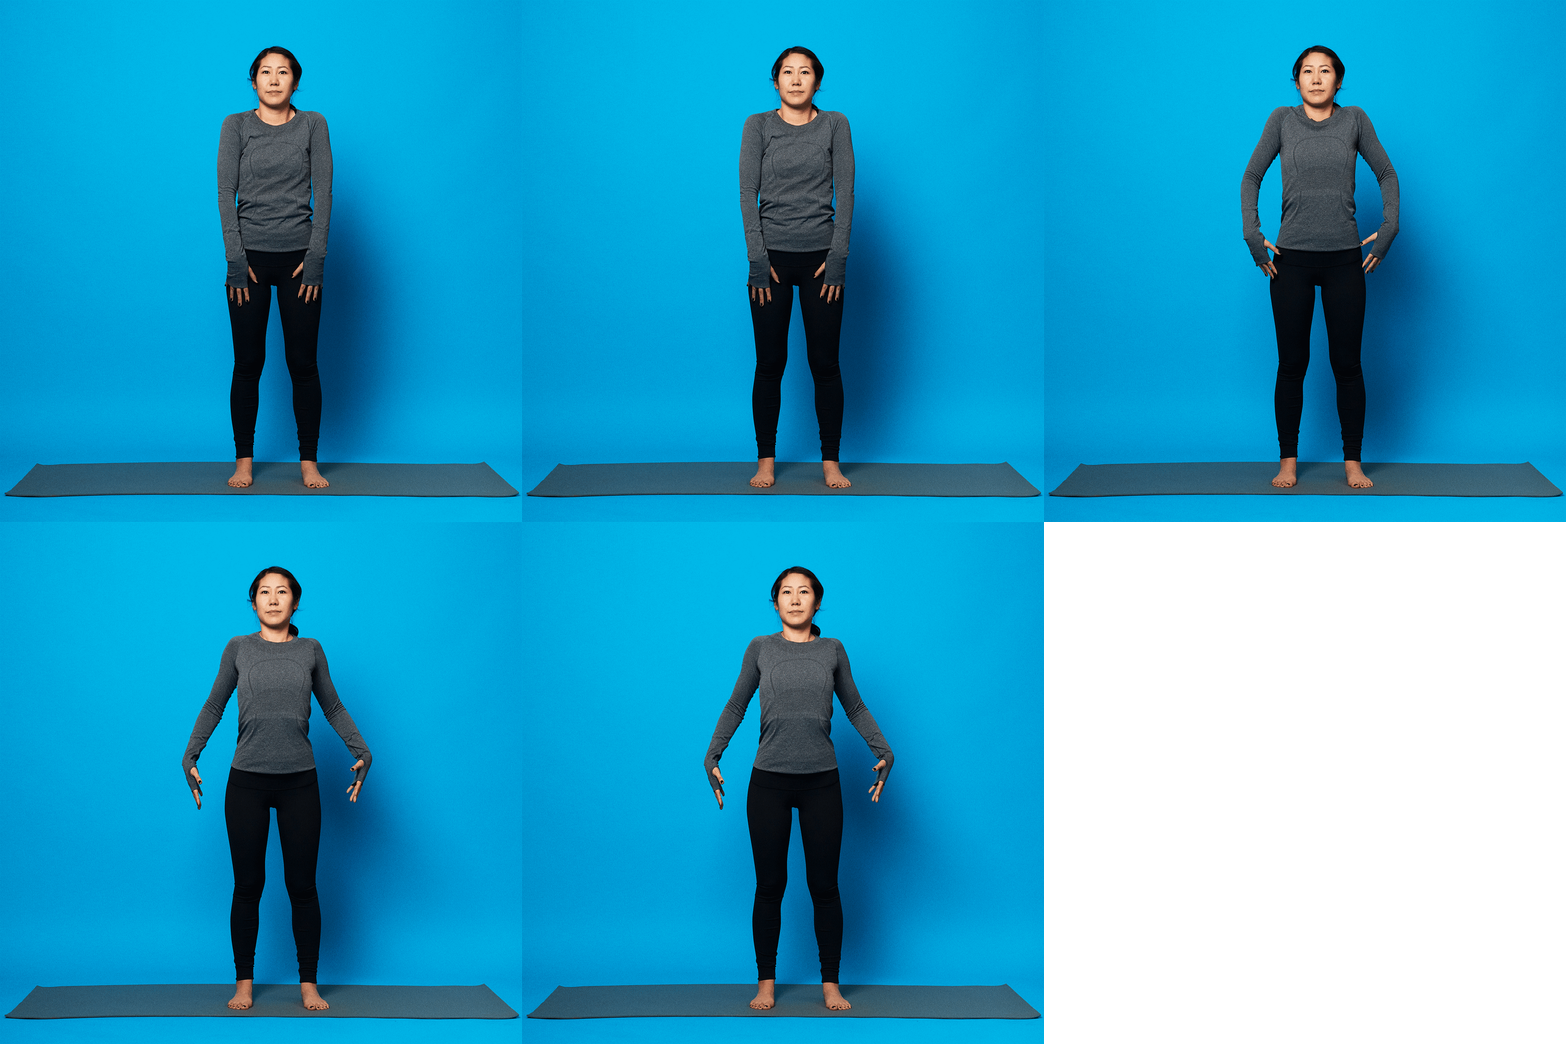
How to do it: Stand with your feet hip-width distance apart. Imagine rooting through the four corners of your feet while you engage your calf, hamstring, and glute muscles. Put a slight tuck in your tailbone to engage your abs. Lastly, roll your shoulders down and back so you’re standing tall and proud.
Target areas: Quads, abs, glutes, and traps
Common modification: If it’s difficult to balance, widen the distance between your feet until you feel sturdy like a tree.
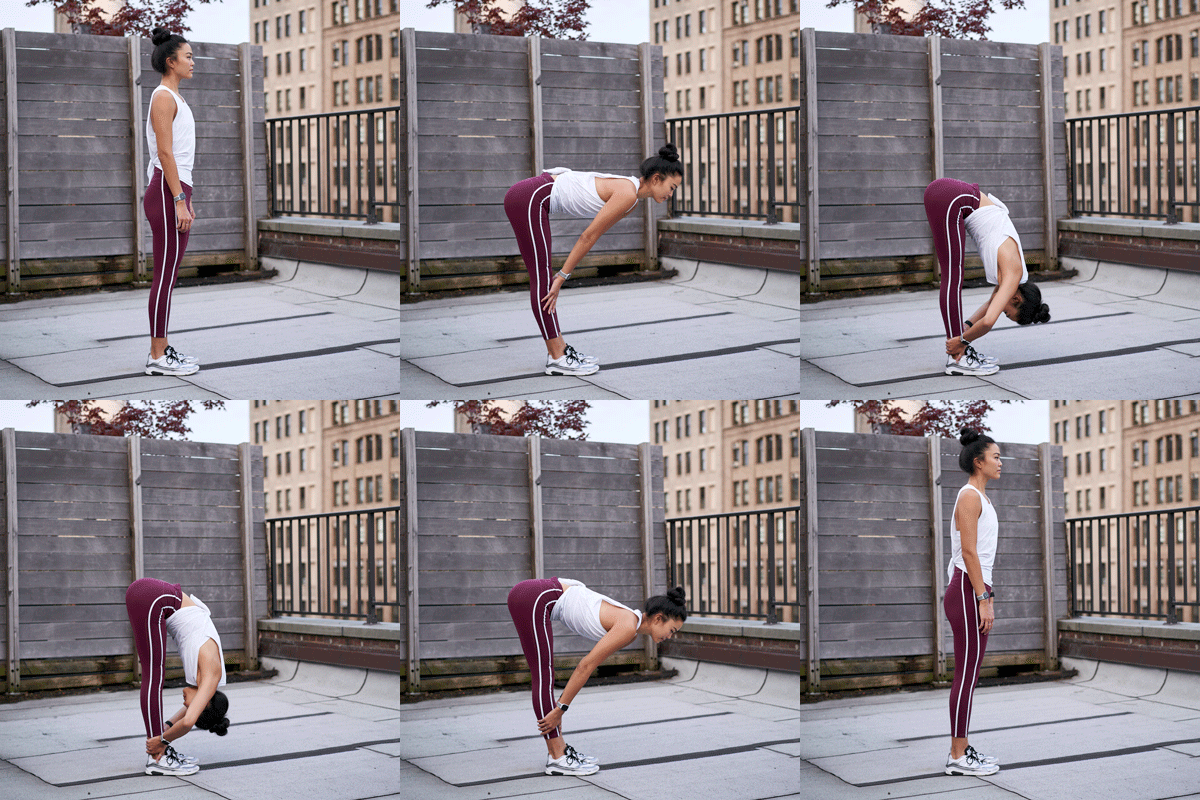
How to do it: Stand with your feet hip-width distance apart. Fold over at your hips (notice how this is different from bending at your waist), keeping your spine as straight as possible. For a deep stretch in your upper spine and neck, grab your elbows with opposite hands and sway gently side to side.
Target areas: Hamstrings, calves, hips, neck, and shoulders
Common modifications: Bend your knees as deeply as you need to keep your spine straight. For better balance, widen the space between your feet.
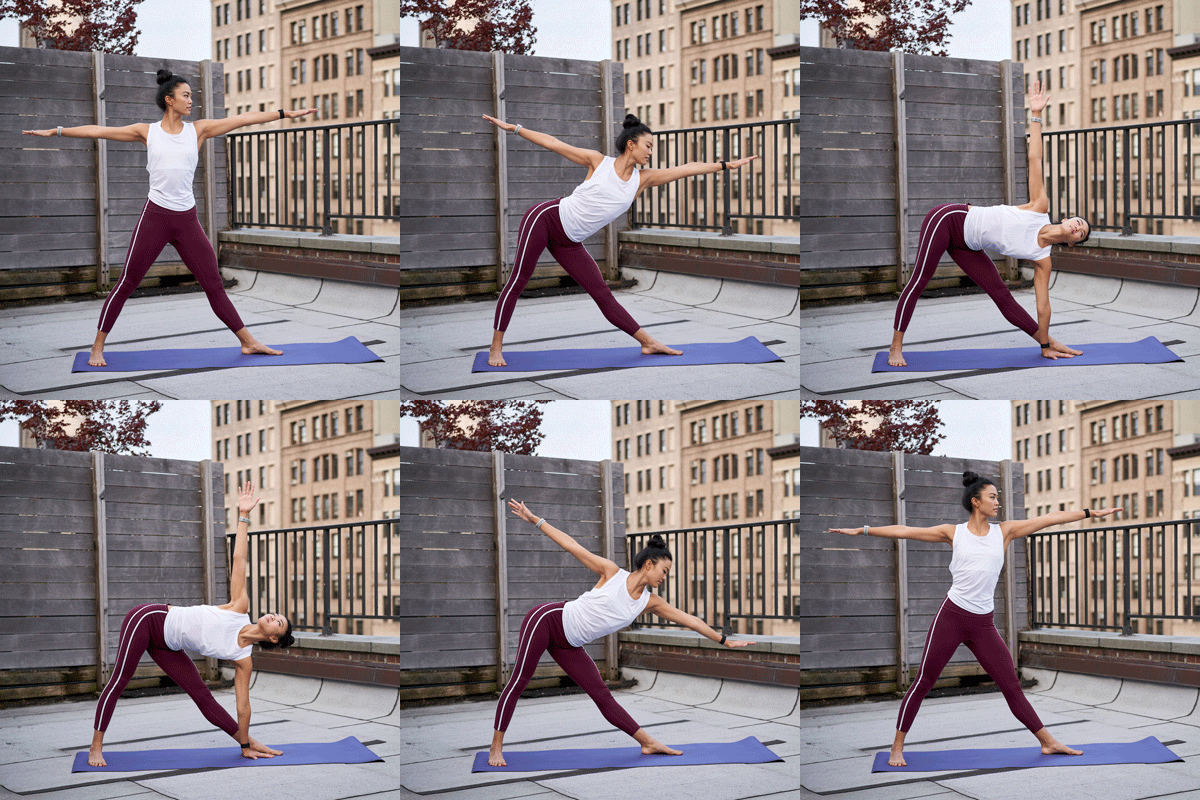
How to do it: Your front foot should point straight towards the front of the mat while your back foot points towards the side of your mat. Before you bend over, slide your hips back as far as you can while stretching your front arm out ahead of you. When you fold over, imagine lengthening both sides of your body. And keep a very slight bend to your knees so they aren’t locked.
Target areas: Hips, thighs, back, chest, and shoulders.
Common modifications: If you have trouble reaching the floor, use a yoga block to shorten the pose and give you more stability. You can also place your back heel or your torso against a wall to help with stability.
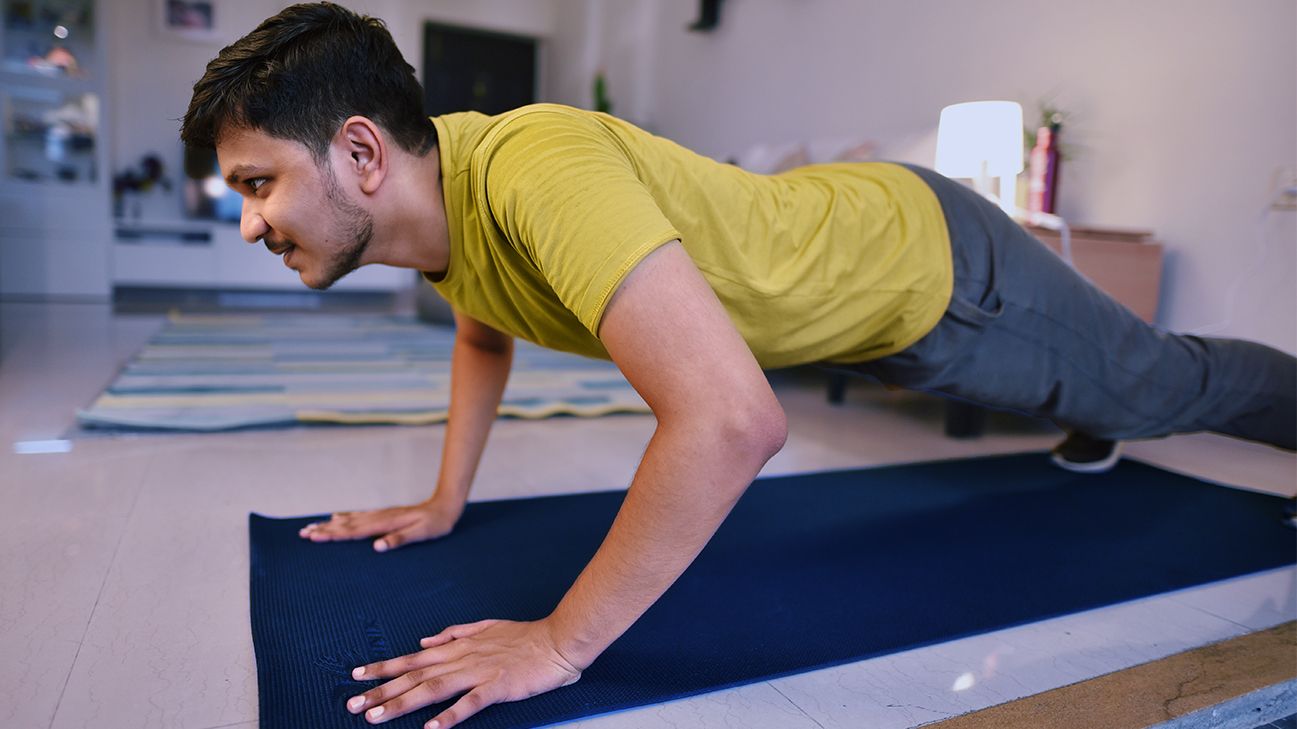
How to do it: Separate your hands shoulder-width distance and your feet hip-width distance apart, with your heels directly behind your toes. Spread your fingers wide and try to press your palms flat against the floor as you push your hips towards the wall behind you. Keep your spine straight by bending your knees as much as necessary.
Target areas: Pretty much your whole body, especially your hamstrings, calves, shoulders, hands, abs, and back
Common modifications: Most people need to bend their knees in this pose. And it’s totally normal for your heels to never touch the floor!
How to do it: Follow the instructions for Downward Dog above. Then, pick up your leg using your glute and ab muscles. Make sure to keep your toes pointed towards the floor and maintain equal weight in both of your arms.
Target areas: Most of your body, but especially your core, glutes, and shoulders
Common modifications: If full 3-Legged Dog is too much, start by lifting your toes a couple inches off the floor. To make the pose more advanced, try doing it one-handed! When your right leg is lifted, reach your left arm behind you, and vice versa.
How to do it: Kneel with your knees spread to the edges of your mat. (Your toes can be tucked under like in the gif above, or the tops of your feet can rest on the mat.) Extend your arms out in front of you so that your elbows aren’t touching the mat and sink your belly, chest, and head to the floor.
Target areas: Hips, quads, shoulders, and ankles
Common modifications: If you have trouble resting your butt on your heels, place a blanket between the backs of your thighs and your calves. For a more active variation, extend your arms in front of you. For a more restorative feel, let your arms hang at your sides.
How to do it: Lay flat on your back and bend your knees into your body. Separate your knees as wide as you can and grab the outer edges of your feet. Focus on keeping the length of your spine flat on the floor — especially your sacrum and tailbone, which usually want to come up.
Target areas: Hips, hamstrings, and lower back
Common modification: If you can’t reach your toes, try holding your ankles or shins.
How to do it: Lay flat on your back. Bring one of your heels to rest on the top of your other thigh and then bend the knee that’s on the bottom 90 degrees. If possible, raise the bottom leg towards your face and pull it close to you with your hands.
Your head and shoulders will want to come up during this pose, so make sure not to let that happen. Flex the foot that’s closer to your face and remember to breathe deeply.
Target areas: Hip, outer thigh (IT band), and hamstrings
Common modification: If the shape in the GIF above is too intense, plant your outside foot on the floor and stretch from that position.
How to do it: Sit with your booty planted on the ground and your legs stretched out in front of you (legs can be touching or have space between them). Try to keep your spine straight (bend knees as needed) as you fold over your hips and reach for either your feet or the ground in front of you. Lead with your chest and keep your shoulders pulled back and down.
Target areas: Spine, shoulders, groin, and hamstrings
Common modifications: Take your time getting into this pose. And if your hamstrings or lower back is tight, bend your knees.
How to do it: Lay on your belly with your elbows directly under your shoulders and palms flat on the floor. As you lift your shoulders and chest off the ground, press the tops of your feet into the mat and engage the whole back side of your body. Imagine pulling the floor toward you with your palms and forearms. This is meant to be a subtle low-back stretch, not a deep backbend, so be gentle.
Target areas: Abs, lower back, chest, and shoulders
Common modification: Start with your forehead touching the floor and lift your head and shoulders up until you feel a comfortable amount of sensation (there should not be any pain or exertion here).
How to do it: Lay on your back and bring your heels towards your booty so that you can touch them with the tips of your fingers. Press into your feet to lift your hips and press into your hands to lift your chest towards your chin. Make sure to keep space between your chin and chest (as if you were cradling an orange there).
Target areas: Chest, shoulders, neck, hip flexors, and glutes
Common modifications: If you’re having trouble keeping your hips elevated, you can try resting a yoga block under your lower back, directly above your tailbone.
If you want to take this pose to the next level, you can try a one-legged Bridge Pose: Straighten your leg and extend your heel up toward the ceiling. Hold each leg for about 30 seconds.
How to do it: Find a bare wall and lay your mat down perpendicular to it. Lay on your back and scoot your booty until it’s pressed flush against the wall (you’ll probably need to bend your legs to do this). Hang out here for a decent amount of time, at least 3 minutes.
Target areas: Hamstrings, hips, and back
Common modification: For an added stretch for your hips and groin, spread your legs out in a V shape.
How to do it: Lay on your back and bring the bottoms of your feet to touch. Bring your heels towards your butt until you feel a gentle stretch in your groin and inner thigh muscles.
Target areas: Groin, inner thigh, and lower back
Common modification: Props are key for making this pose work for you. Use a rolled-up towel (if you don’t have a bolster) to prop up your neck and/or underneath your sacrum. You can also support your legs by using a pillow propped up under each knee.
How to do it: Get into to Table Top Position: hands directly under shoulders and knees directly under hips. Press your palms and fingers against the floor. For Cow Pose, inhale deeply through your nose as you sink your belly and push your booty out behind you. Then, exhale slowly through your nose and round your spine, tucking your chin gently into your chest for Cat Pose.
Target areas: Spine, back, torso, and neck, chest, and shoulders
Common modifications: If your wrists hurt while you’re practicing this pose, you can support yourself on your forearms instead. And if your knees hurt, pad them with a folded blanket.
How to do it: From standing, step one foot towards the front of your mat and bend your knee 90 degrees. (Your front and back toes should both be pointed forward.) Next, plant the hand opposite your bent knee on the ground and reach your other hand to the sky. Imagine a line of energy running from your planted hand, through your arms and shoulders, and out your other fingers.
Target areas: Hamstrings, glutes, quads, hips, chest, and shoulders
Common modifications: If the pose above is hard to hold, drop your back knee to the floor (padding with a blanket if necessary). You can also plant your hand on a yoga block instead of the floor to make the twist more accessible.
How to do it: Lay on your back and extent your arms into a T shape. Engage your ab muscles to bring your knees into your chest. With your shoulders flat against the floor, move your hips to side and then the other.
Target areas: Lower back, spine, obliques, chest, and hips
Common modification: For a deeper stretch, extend the leg that’s closest to the floor and pull your top knee toward the floor.
How to do it: Get into to Table Top Position: hands directly under shoulders and knees directly under hips. Reach one arm all the way under your lower body and until your shoulder is resting on the ground. Either extend your other arm toward the sky or tent your fingers on the floor in front of your head to help traction the stretch. Make micro adjustments with the arm that’s on the floor until you feel a deep stretch in your shoulders.
Target areas: Shoulders, chest, arms, upper back, and neck
Common modifications: Resting your bottom arm on a stack of blankets helps keep your torso more upright, which will make the stretch more gentle. And if you want a deeper version of this pose, enter it from Child’s Pose.
Yoga doesn’t have to be complicated or challenging to help your body and mind feel better. You can benefit from even the simplest poses, especially if you practice regularly.
Make sure not to force your body into positions that feel uncomfortable or painful. And don’t be afraid to research modifications of specific poses!


