Is there anything more enticing to the senses than the smell of open-fire cooking? Grilling, for many people, is an intimidating process. How do you start a fire? What are the different charcoals? How do you get crosshatch marks on a steak? How do you avoid burning, well… everything?
This grilling primer is here to help. Master these fundamentals and your grilling will be a surefire success at your next weekend dinner or family gathering.
Propane grills
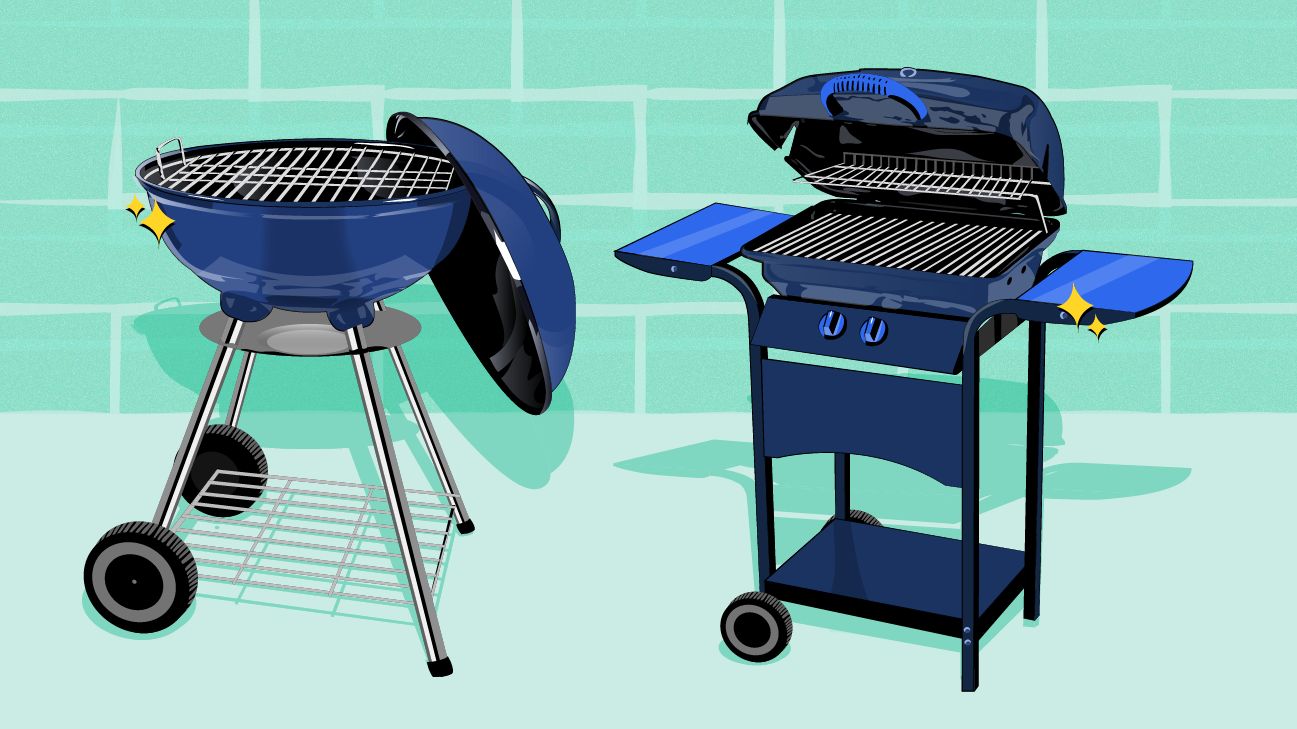
There are two categories of grills: gas and charcoal. Gas grills use either propane tanks or a natural gas line connected directly to the grill.
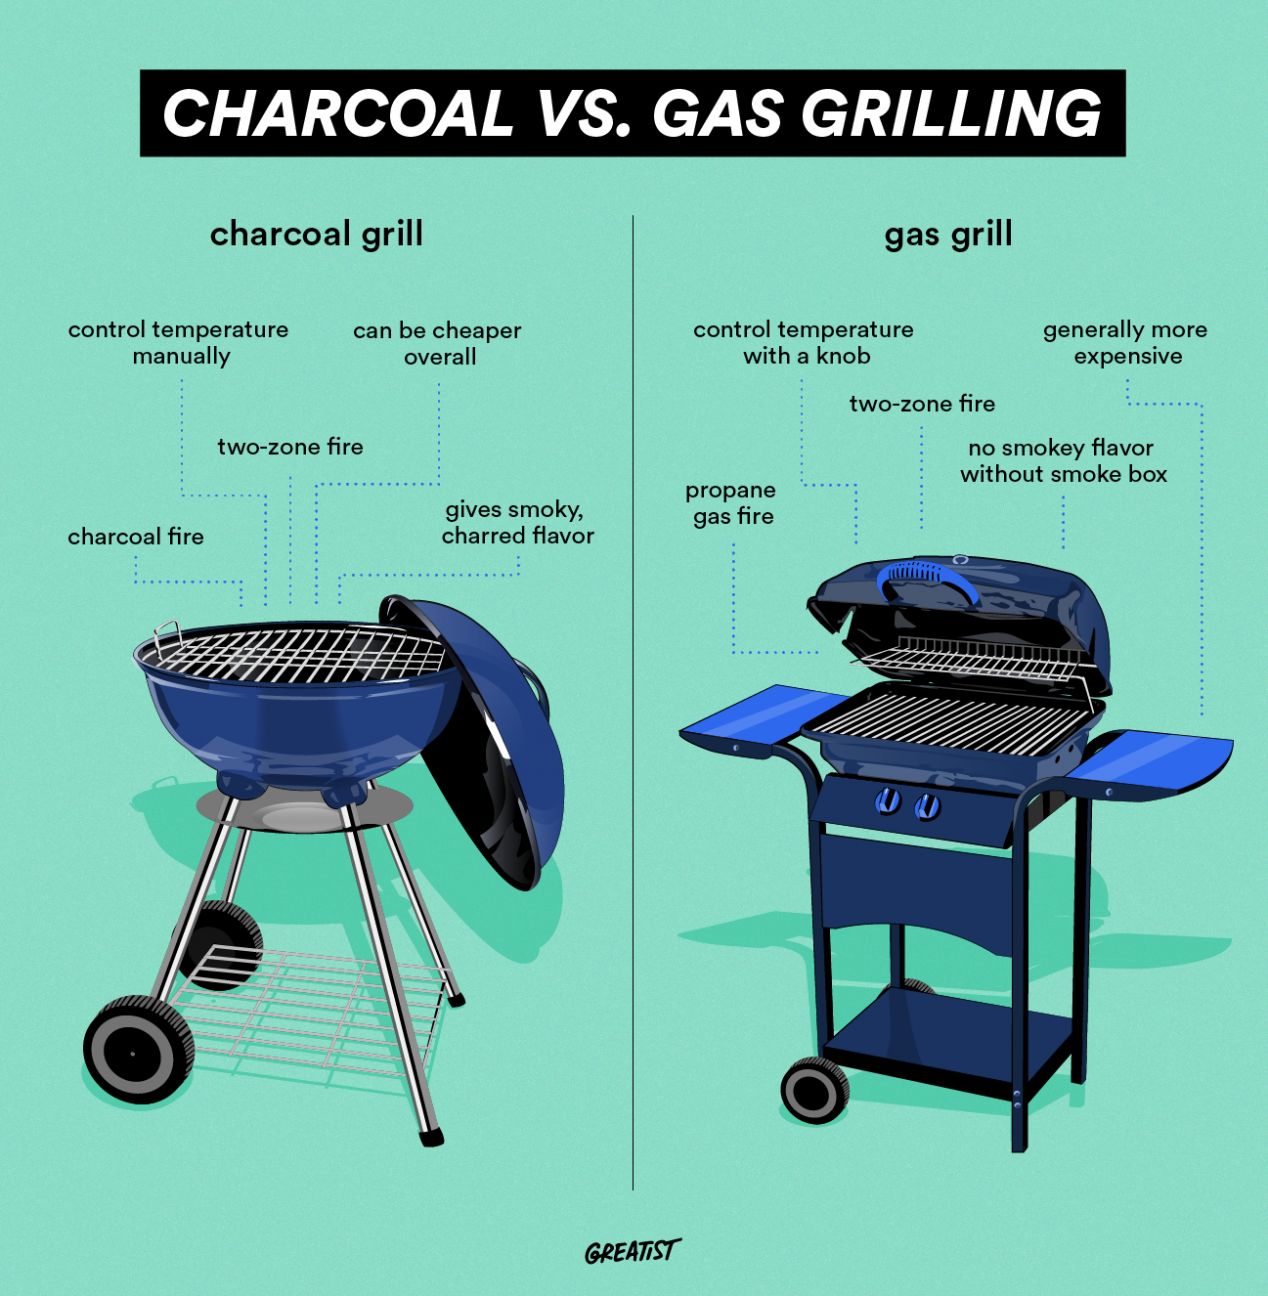
Gas grills are pretty straightforward: Controlling the fire is as simple as turning a knob. This saves time and simplifies grilling. But food cooked on gas grills lacks that classic charbroiled flavor, since the grills don’t get as hot as their charcoal cousins and produce significantly less smoke.
To replicate slow-smoked flavor on a gas grill, place a smoker box filled with soaked wood chips directly on the grate. Generally, you want the temperature of the grill to be between 220°F and 250°F, as opposed to the 350°F to 400°F or higher temps used in regular grilling.
Charcoal grills
Charcoal grills don’t have a convenient knob for flame control, which can make them a little more challenging to use. But many grillers would argue that this increase in difficulty is worth it to achieve superior flavor. Charcoal runs hotter than gas, giving food cooked on it that classic open-fire taste.
Most traditional grills, such as Indian tandoor ovens and Middle Eastern kebab grills, use charcoal. As a bonus, charcoal grills are cheaper than gas, usually costing two to three times less up front. Charcoal briquettes also cost less than refills of the propane tanks required for gas grills.
Because starting and maintaining a charcoal fire requires experience, charcoal grilling takes effort and a better understanding of grilling technique, which means it can be more challenging for the beginner griller.
This isn’t to say that beginner grillers can’t start with charcoal, just that it can take a bit of practice to learn how to control the heat — not to mention a few pieces of burnt protein or accidental flare-ups before you start to feel truly confident.
Choosing the charcoal
There are two kinds of charcoal: briquettes and hardwood lump.
Charcoal briquettes, which are rounded black cubes, are cheaper, easier to use, and more widely available. Packed with sawdust and binders, briquettes burn for a long time, which makes them great for cooking large items like whole chickens. Most grocery stores carry brands like Kingsford charcoal briquettes. Briquettes come in many varieties, with some embedded with wood chips and others infused with lighter fluid.
Hardwood lump charcoal is made from irregular shapes and shards of real hardwood. It burns hotter and faster and produces less ash than briquettes. The primary benefit of hardwood lump is flavor, which will vary depending on the type of wood (mesquite, applewood, and pecan are some examples).
Generally, hardwood lump is best for fast-grilling items like kebabs and steaks because of its intense heat. Brands like Royal Oak make an excellent hardwood lump.
Managing a charcoal fire
The most common method for starting a charcoal grill is the charcoal pyramid, which funnels heat from the bottom, allowing it to spread evenly among the charcoal.
To build a charcoal pyramid, first place used newspaper or paper bags in the grill. Then, stack charcoal (briquettes or lump) on top of the paper into a pyramid. Next, light the paper and slowly grow the fire, fanning or blowing on the charcoal to increase the heat.
The main thing to look for is a color change to the charcoal, from black to grayish white (about 75 percent of the surface area should have changed color). Heat will rise from the bottom, and the closeness of the charcoal allows the heat to spread through proximity.
Be patient
The goal isn’t a roaring fire. If the fire needs more fuel, add more paper to the pyramid. Otherwise, just let it do its thing. You’ll know the grill is ready when the coals at the center of the pyramid are glowing red and the charcoal looks ashy at the edges.
(And don’t worry if this seems like a lot to remember — most commercially available charcoal will also have instructions on the back of the bag.)
Using a chimney starter
Another method for starting a charcoal grill involves using a chimney starter, which is a hollow metal cylinder with holes at the bottom and sides and a wire grate inside.
To use a chimney starter, stuff crumpled newspaper or paper bags into the bottom, then fill the top with charcoal and light the paper. Once the charcoal has turned white, pour it into the grill. A properly used chimney starter will produce perfect charcoal every time.
Putting out a charcoal grill fire
To put out your charcoal grill, simply place the grill lid back on and close all the vents. This will cut off the oxygen flow and suffocate the fire. Avoid spraying water on the charcoal. Not only can it cause a sudden rise of intense steam, but the rapid temperature change can crack and damage the grill.
Building “zones” is essential for larger or bone-in items to ensure even cooking and to avoid flare-ups. Steaks like rib eye contain a lot of fat, and the rendering during grilling can cause fires if you aren’t careful. If flare-ups are not contained, they can leave a patchwork of unappetizing, bitter black marks on food.
The simplest way to build fire zones in a charcoal grill is to have two sides: one with charcoal and one without. You can do this on a gas grill by lighting one side and not the other.
To cook large cuts evenly, sear on the hotter side before moving the meat to the cooler side. Close the lid and adjust the vent for heat control. The meat will finish cooking over indirect heat. This grilling method uses the same culinary concept as cooking a steak in a pan before placing it in the oven.
Meat and poultry
Grilling is primarily about searing. Cuts of meat like skirt steak, flank, or lamb rib chops are perfect for high heat cooking. Other items, like pork chops and chicken legs and breast, are also great.
When grilling, bone-in pieces will take longer than boneless. To speed up the grilling process for something like chicken legs, one method is to make several deep incisions in the meat to allow for faster cooking and more marinade penetration. Also, always remember to rest your proteins after grilling but before slicing, so they retain their juices and don’t dry out.
Seafood
As for seafood, tuna and swordfish are firm enough to grill directly on the grate. But for more delicate fish like whole snapper, it’s best to use a grilling basket or wrap it in foil. Simply wrap your fish and desired aromatics with foil and place them on the grate.
Vegetables and fruits
It might sound weird, but vegetables and fruit are actually great on the grill. Asparagus brushed with olive oil is a simple yet delicious side dish. Even leafy greens like bok choy and romaine lettuce can be grilled. Just be sure to work quickly, because vegetables overcook easily.
Dessert
For dessert, try grilling fruit such as pineapple rings or halved peaches. When combined with ice cream or whipped cream, these fruits become indulgent treats, laced with a unique smoky flavor that is absolutely delicious.

Marinade
Marinades with high sugar content (brown sugar, honey, or fruit juice), work best with thin or boneless meat cuts. These cuts will cook quickly, which is an important factor because the high sugar content in a sweet marinade will eventually burn and cling to the grill grate.
If cooking both marinated and unmarinated proteins, always grill the unmarinated cuts first to ensure a clean grill.
Crosshatch marks
For classic crosshatch marks, first place the meat on the grill for about 2 minutes. Then, lift and rotate the meat 45 degrees for a diagonal crosshatch or 90 degrees for a square crosshatch. Flip the meat and repeat the process until the desired crosshatch marks appear.
Don’t use lighter fluid
Lighter fluid is generally unnecessary. And please don’t squirt it into the fire during cooking — this will only cause large, dangerous flames.
Hunter Lu is a New York-based food and features writer. He also writes fiction and has been published in The Line Literary Review and The Bangalore Review. His work can be found at hunterlu.com. Follow him on Twitter.