If you have kids, you’ve probably been looking for ways to keep them entertained. And if you haven’t gotten them involved in baking bread yet, it’s actually a great activity that’s both fun and educational. Making bread in a bag is a less messy way to do it—so even if you’re baking solo, you can save yourself from washing another mixing bowl!
Making bread is a fun, edible kitchen science activity for kids. Not only will the kids get a delicious snack for their efforts, but they will develop math, science, and even fine motor skills along the way. Baking in itself is a science and what better way to learn than with edible science? If you want to get the kids away from the screen for a bit, teach them how to bake a loaf of bread with this easy activity.
As you go through the steps of bread making, your kids will learn several things:
- What is yeast and how does it work?
- Why do you need to feed yeast?
- How does temperature affect how bread rises?
This activity is adaptable for several age groups. With younger children, point out each process and assist them with each step. For older kids, let them guess what will happen with each step. At the end of the activity, they will come away knowing a new life skill as well as new science skills.
And this particular method will also appeal to any adults who don’t want to wash another mixing bowl!
- 3 cups all-purpose flour, divided
- 3 tablespoons granulated sugar
- 1 packet rapid rise yeast (.25 oz ) or 2 ¼ teaspoons of instant yeast
- 1 1/2 teaspoons salt
- 1 cup warm water
- 3 tablespoons vegetable oil
- 1 gallon size zip bag
- Loaf pan
- Large bowl or measuring cup (this won’t get dirty…probably)
1. Let your children measure out each ingredient and put them into separate containers. This way, they will understand how to accurately measure and pay attention to the order in which the ingredients are added. (If you’re flying solo, you can skip pre-measuring the ingredients and go right to step two.)
2. Open up the plastic zip bag and place it in a large measuring cup or bowl. This is how your child will mix the bread dough. Add in the water, yeast, sugar, and one cup of the all purpose flour. Explain to your child that you must activate or wake up the yeast before it can do any work. The yeast will need to be fed with the sugar, flour, and warm water to get started.
3. Squeeze out the air in the bag and zip it shut. Have your child mix from the outside of the bag with their hands until all the ingredients are incorporated.
4. Let the bag rest for 15 minutes. Make sure to point out the little gas bubbles forming in the mixture. The yeast expels carbon dioxide as they feed off of sugars. This is a good time to discuss yeast: It’s a single-celled fungus. Instant dry yeast lies dormant until it comes into contact with warm water. Yeast converts its food, the sugar and starch, into carbon dioxide and alcohol (also known as fermentation). It’s the carbon dioxide that makes the bread rise.
5. Put the bag back into the large measuring cup or bowl and open it. Add in one cup of flour, then close the bag and mix from the outside. Repeat this process once more (that should finish off the flour). Now for the fun part!
6. Lay a sheet of parchment paper onto your counter and sprinkle some flour on top. Have your child knead the bread. It will take at least 10 minutes of kneading to develop the gluten in the dough. Yes, they will probably give up halfway through, but it’s a good time to explain how gluten works in bread. Gluten gives yeasted bread its chew. Kneading incorporates air, distributes ingredients, and develops the gluten. Kneading knots together proteins inside the flour to form strands of gluten. They can take a break if needed.
7. Shape the dough into a loaf-like shape and place it in a greased loaf pan. Cover loosely with plastic wrap and let it rise in a warm place until it’s doubled in volume.
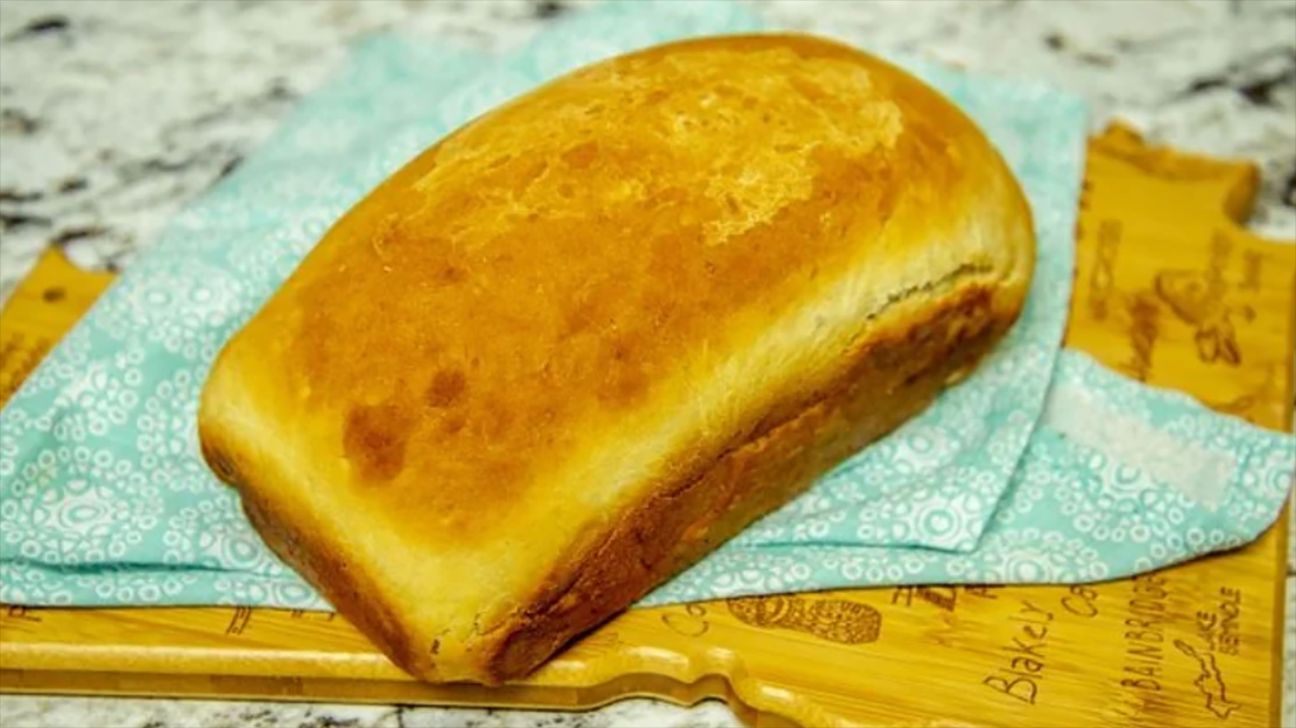
8. Once it’s doubled (about 30 minutes) bake in a 375 degree oven for 25 minutes. Remove from the oven and let it cool to room temperature. Then slice and enjoy (don’t forget the butter)!
If you want to experiment with other ways to make bread, here are just a handful: